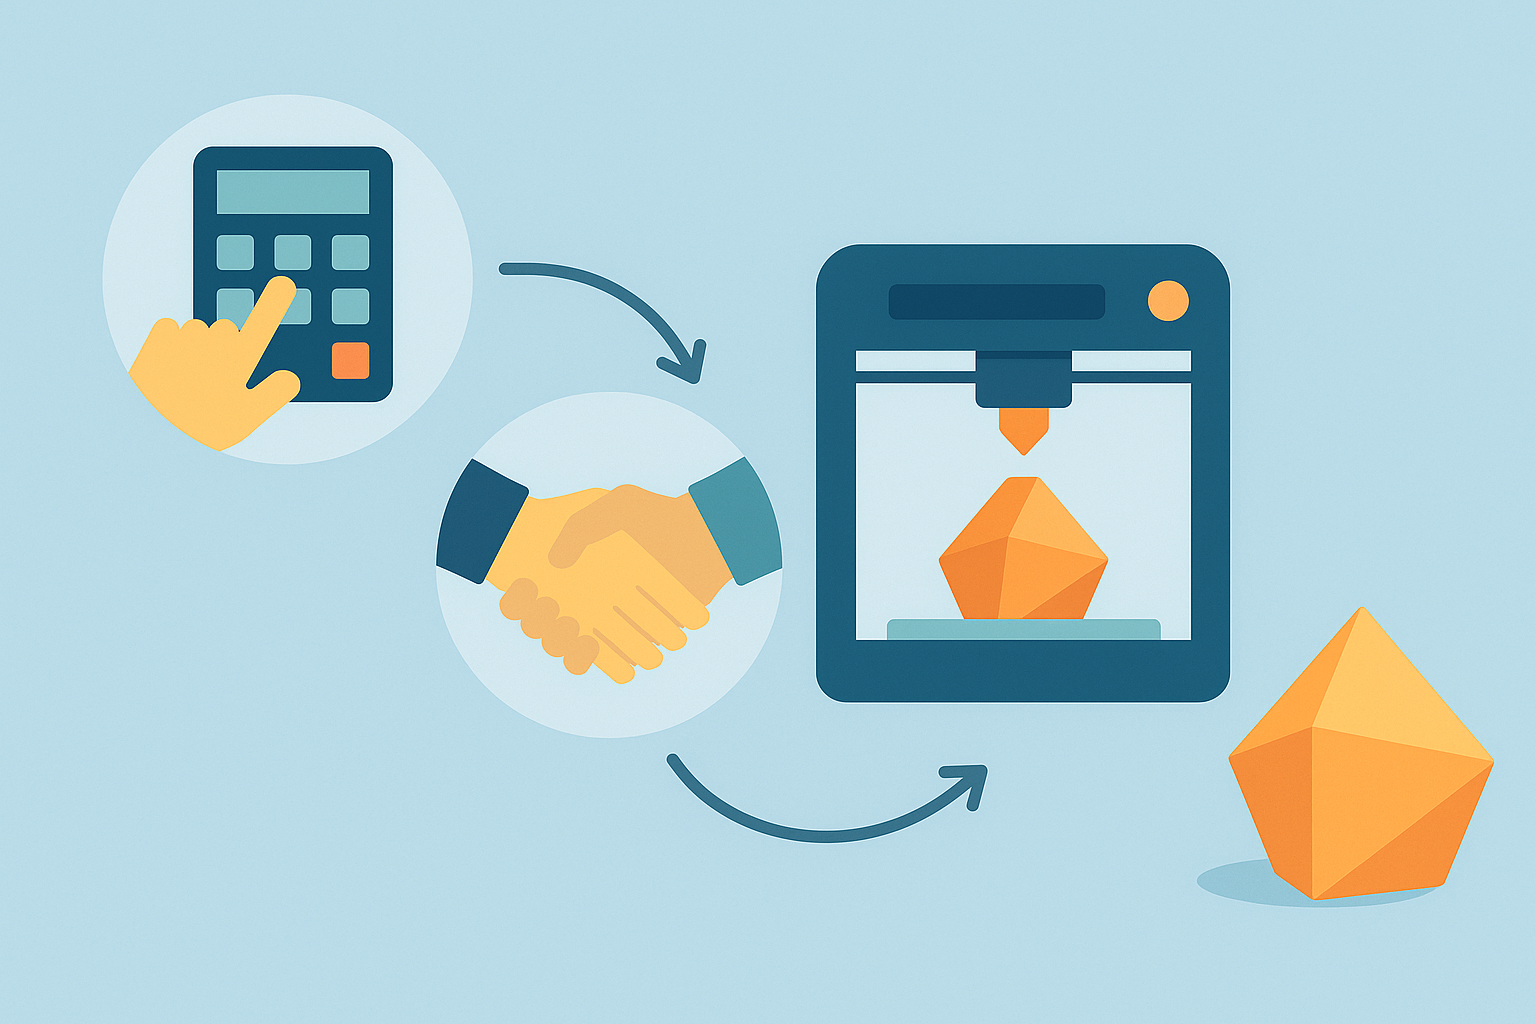
1. Submitting your request
It all starts with you. You can upload your own 3D model (STL, STEP, OBJ or 3MF), or just describe what you need. If you don’t have a model yet, we’ll help you create one as part of our custom 3D modeling service.
👉 Submit your request via the online calculator
2. Price calculation
Once we receive your model, we calculate the cost – based on volume, print time, material, layer height, and geometry complexity. You’ll get an instant estimate, and then we’ll confirm the final quote manually.
3. Print preparation
We check the model, optimize its orientation, and make minor suggestions if needed. Then we choose the material and color, set print parameters, and prepare the file for the printer.
4. Printing and quality check
We print the model on our high-performance Bambu Lab printers (including large-format), often using multiple colors or materials. After printing, we manually check the quality and remove supports.
5. Post-processing and delivery
If needed, we perform finishing work (sanding, polishing, assembling parts). Then we carefully pack the finished piece and send it your way – or you can pick it up in person.
Bonus: Fast and flexible
Most orders are completed within a few days. Urgent jobs? We’ve got you covered. We stay in touch throughout the process so you always know what’s happening with your order.
Leave the printing to us
No need to worry about printers, settings, or failed prints. Just send us your idea – we’ll handle the rest.